What Malcolm is really teaching here
The direct answer in this video is simple: baby back ribs get better when you stop treating the clock like the main decision-maker. Malcolm Reed’s method is built around a chain of small checks. He looks at the rack before it ever comes out of the package, trims it so the edges cook evenly, smokes it until the bark tells him it is ready, then uses bend, looseness, and temperature together to judge tenderness. The result is not presented as a lucky rack or a one-time stunt. It is a process for getting tender, juicy ribs that still hold together cleanly when it is time to slice.
That approach gives the video its shape. It is less about a dramatic recipe and more about reading the meat well enough to know what stage it is in. That matters because ribs can go wrong in a few ordinary ways: the thin ends dry out, the bark never sets, the wrap steams the meat too early, or the glaze burns while the rack is still trying to finish. Malcolm’s solution is to slow the cook down mentally, even when the pit itself is running at 275°F.
Buying a rack that will cook evenly
The cook starts long before smoke hits the ribs. When Malcolm is shopping, he wants a cryovac that is tight on the package. He reads that as a sign that the meat is fresh and that air has not gotten in. He also checks for moisture without wanting leakage. That is a practical little filter: if the packaging looks wrong, the rack is already suspect.
Uniformity matters just as much. He wants a rack that is about the same thickness from one end to the other, with only a little extra loin at most. The reason is straightforward. A rack that gets too thick on one end and too thin on the other will not cook evenly. The thin part dries out before the thicker part is ready. In other words, the ideal rack is not just a prettier one; it is a rack that gives you a better chance at even doneness.
He also wants straight bones. That is partly for presentation, since straight bones lay better on the pit and slice cleaner at the end. But it is also about control. Straight bones make the rack easier to portion after the cook, and that matters when the goal is neat ribs instead of torn-up portions.
Why the trim matters before smoke ever starts
Once the ribs are out of the package, Malcolm keeps the process tidy. He does not wash the meat. Instead, he blots off excess moisture with paper towels and works on the back side first. That detail lines up with the rest of his method: keep the meat clean, keep the surface manageable, and do not add extra steps that do not help the cook.
The trim is aimed at the ends that would otherwise overcook. He starts on the thinnest side, squares off the rack, and removes the bits that would dry out or burn before the meat reaches the right texture. He also cleans up the thicker loin side so the rack stays even across its length. The goal is not to make the rib look overly sculpted; it is to remove the awkward parts that would make the cook uneven later.
Then comes the membrane, which he removes for two reasons. First, he does not want that tough layer on the back of the ribs. Second, he wants seasoning, smoke, and sauce to get to the meat on both sides instead of running into a barrier. He notes that leaving the membrane on can help a rack stay together if you overcook it, but that is not the outcome he is chasing. He wants a rib that can get tender without needing a tough backing layer to hold it together.
Seasoning, smoke, and the moment to wrap
The seasoning step is deliberately unfussy. Malcolm says ribs are subjective and that you can use your preferred rub, but he uses his own barbecue rub for sweet, savory flavor and bark color. He does not lean on a binder here. He says it is optional, not required. The rub sits on the surface while moisture comes out of the meat and helps it adhere naturally.
That leads into the smoke stage, where the temperature target is 275°F. He says any smoker can work if it holds that heat. The point is not the brand of pit or even the fuel source; it is the steady cooking environment. He runs the ribs until the bark tells him they are ready, not until the stopwatch says so. Around two hours in, he is looking for a surface where the rub has fused into the meat and no longer wipes off. That is the real checkpoint for wrapping.
The wrap mixture is built for flavor and moisture. He uses melted butter, apple juice, barbecue sauce, and a bit more rub. The combination is meant to help the meat break down while keeping the ribs juicy. He places the racks meat-side down in foil, adds the mixture, seals them up, and sends them back to the pit.
Tenderness is a feel, not a stopwatch
The wrapped stage is where the cook becomes more tactile. Malcolm does mention timing, but only as a cue to check, not a finish line. What he is really watching for is bend. When he lifts the rack, it should flex and feel close to breaking. He also looks for the bones to start loosening in the meat. He even twists one and sees how freely it spins in the socket.
That looseness matters because it is a practical sign that the rack has softened enough. He backs that up with temperature, using a handheld thermometer to confirm the ribs are over 200°F. In this cook, he reads roughly 206–207°F, which he treats as right where he wants it. The key detail is that temperature alone is not the whole test. He combines number, bend, and bone movement.
Once the ribs are tender, he does not rush them straight to the board. He vents them for a few minutes, then holds them wrapped in a dry cooler. He burps the cooler periodically and gives the ribs time to settle for about an hour. That hold is part of the method, not an afterthought. It lets the steam calm down so the ribs are easier to glaze and slice later.
The hold before glaze and the final shine
The glaze stage is where the ribs shift from tender to finished. Malcolm says dry ribs are perfectly fine if that is what you want, but he prefers a finishing glaze. He brushes on barbecue sauce, spreads it evenly, and adds a little more seasoning for extra bark flavor. It is a light touch, not a heavy lacquer.
Then he returns the ribs to the fire at a lower heat, around 225°F, just long enough to set the glaze without burning it. That last step is all about control. The sauce should caramelize, not turn dark and bitter. The cook is almost over, but this is where the rack gets its final look.
What comes off the pit is the kind of rib that shows every earlier decision. The bones are clean, the rack still holds together, the surface has a deep color, and the meat comes apart with little resistance. When Malcolm lifts a rack and breaks off a rib, the juiciness is obvious. He does not need a knife to prove the point.
The rib test that tells you the method worked
The best part of the video is that it never treats “perfect ribs” like a mystery. Malcolm breaks the process into things you can actually check. Is the package tight? Is the rack even? Did you trim away the thin stuff? Did the bark set? Does the rack bend? Are the bones loosening? Did the thermometer get past 200°F? Those are all small decisions, but together they decide whether the ribs are merely cooked or genuinely good.
That is why this feature is less about one sauce, one rub, or one smoker and more about reading the rack at every stage. Malcolm even says the smoker can be different and the seasoning can be changed. The lesson survives those swaps. If you know what the meat is telling you, you can cook great baby back ribs with your own setup.
Watch the original video: https://www.youtube.com/watch?v=QGXQ-aF9P-0
PIT CULTURE MERCH
Two Pit Culture designs from Texas Thread Theory for people who live for fire, smoke and low-and-slow weekends.
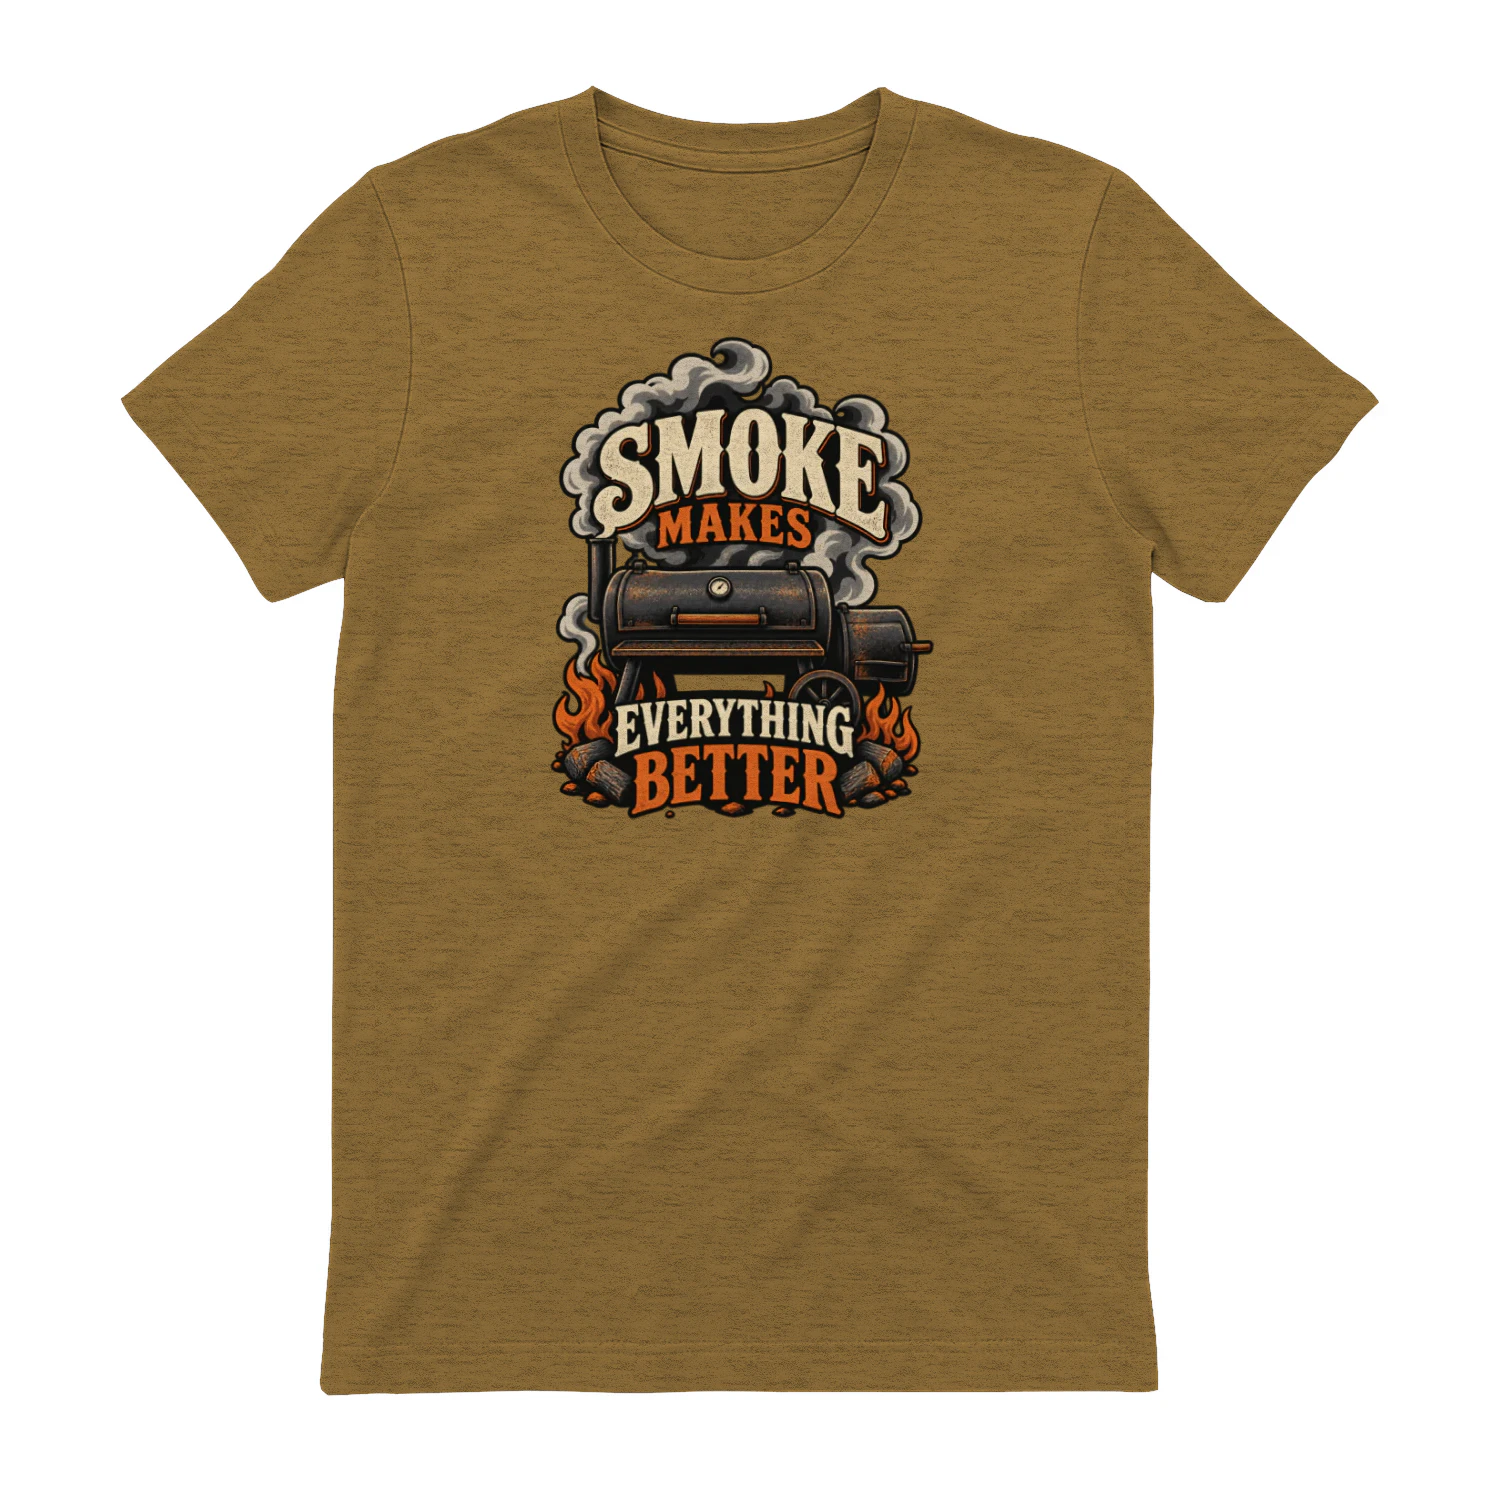
Smoke Makes Everything Better
Official Pit Culture merchandise from Texas Thread Theory, built for people who live for fire, smoke and low-and-slow weekends.

Smoke Therapy
Official Pit Culture merchandise from Texas Thread Theory, built for people who live for fire, smoke and low-and-slow weekends.

